
Architectural model making is a multi-stage process that covers concept development, digital modelling, component production and final assembly. Developers, architects and corporations use such models to present projects to investors, buyers and partners. Understanding the stages of development helps a client estimate timelines, budget and the visualisation possibilities of a project. Below is a breakdown of how an architectural model is created, from idea to presentation.
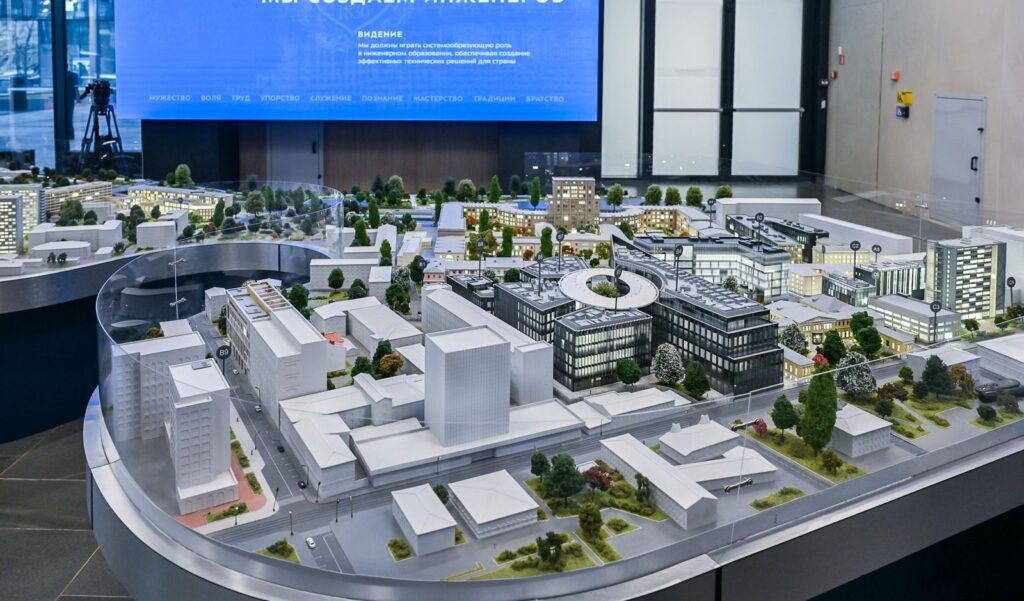
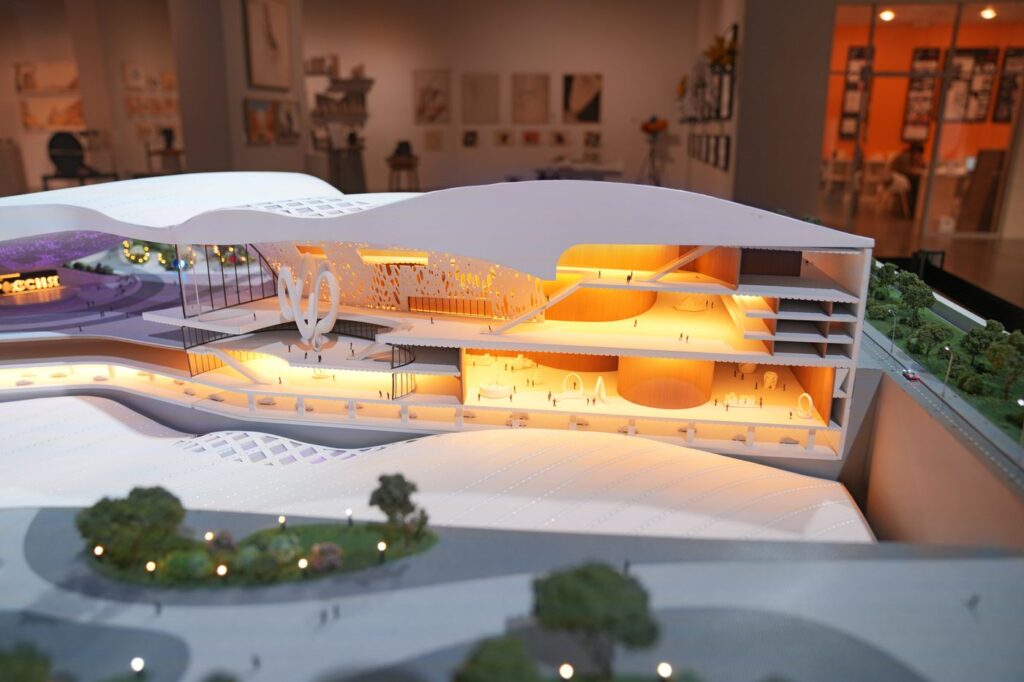
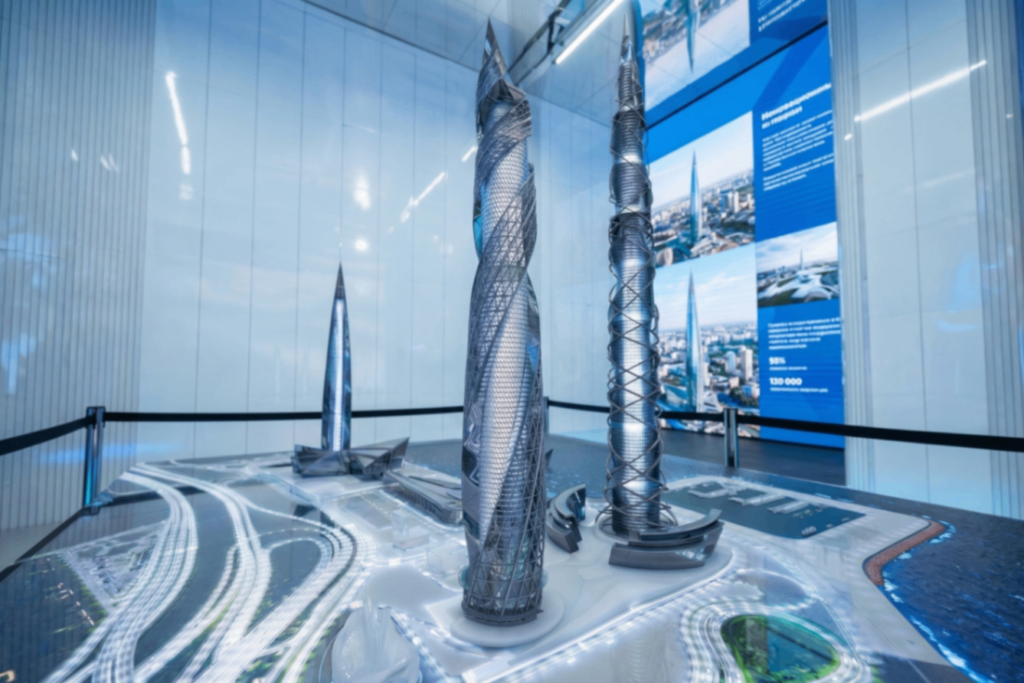
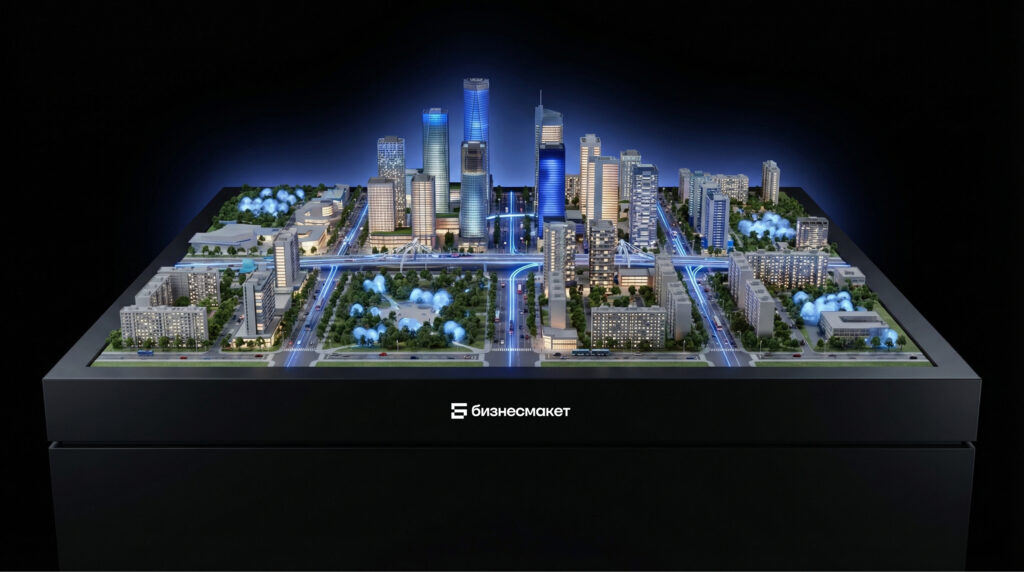
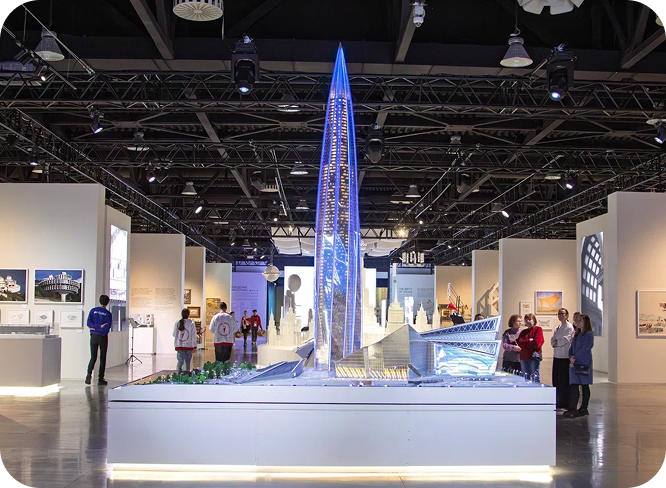
Model of the Bauman Moscow State Technical University campus, 1:200, 12,000 × 3,600 mm
A client commissioning a model for the first time usually does not understand why lead times are measured in weeks and why prices differ several-fold between neighbouring workshops. The answer lies not in the complexity of the architecture but in the production cycle: a model passes through design, the workshop floor, electrical work and debugging, and at each of these stages cost accrues in its own way. Taking this cycle apart shows where a project spends its time, which decisions are made only once, and why late changes are the most expensive of all.
Why developers need a physical model when project visualisation exists
Model making has outlived the arrival of photorealistic rendering, VR tours and video, and the reason is prosaic: no screen delivers what volume delivers. A buyer in a sales office reads in a second how their building sits relative to its neighbours, where the windows face, what obstructs the view from the twelfth floor. The difference is that a video leads the viewer along a set route, while a physical model lets you walk around the project and find your own vantage point — including the one the developer had not planned to show. That is why the model remains a sales tool and keeps its place in budgets even where advertising spend is cautious.
A developer has three usage scenarios, and they place different demands on the model. In a sales office the model works every day and is therefore engineered for load: the lighting stays on for hours, dozens of people approach it, and the interface is operated by managers without technical training. At exhibitions and forums a model has seconds to stop a passer-by — here scale, movement and light do the work, and logistics requirements are added to the structure: demountability, flight cases, fast installation. In negotiations with investors the model plays the role of an argument: it shows the project in its entirety and removes the suspicion that there is nothing behind a handsome render.
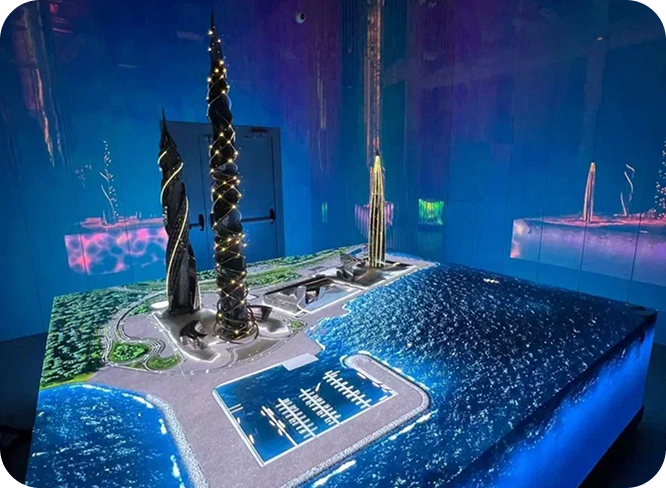
Infrastructure and industry form a separate category of clients. Interchanges, underground levels and process links turn, on paper, into a diagram legible only to a specialist. A territorial model brings the development, engineering facilities and terrain together into a single space — a picture that cannot be assembled from separate sheets of documentation. For industrial sites a demonstration of the technology is added: working mechanisms show the chain from raw-material extraction to product shipment.
What is needed from the client and what makes up the budget
To create a project model, a studio needs not an impressive render but a working set of source data: a master plan with building placement, floor plans, elevations, sections, landscaping solutions. Lead times depend directly on the completeness of this set — every request for missing information halts production, and a week lost in approvals is never made up by the speed of the workshop. A ready 3D model in a working format shortens development: the modeller does not have to reconstruct geometry from drawings but adapts the existing one for production. The project stage is clarified separately, because a model built from a concept and a model built from construction documentation are products of different accuracy, and the client should understand which of the two they will receive.
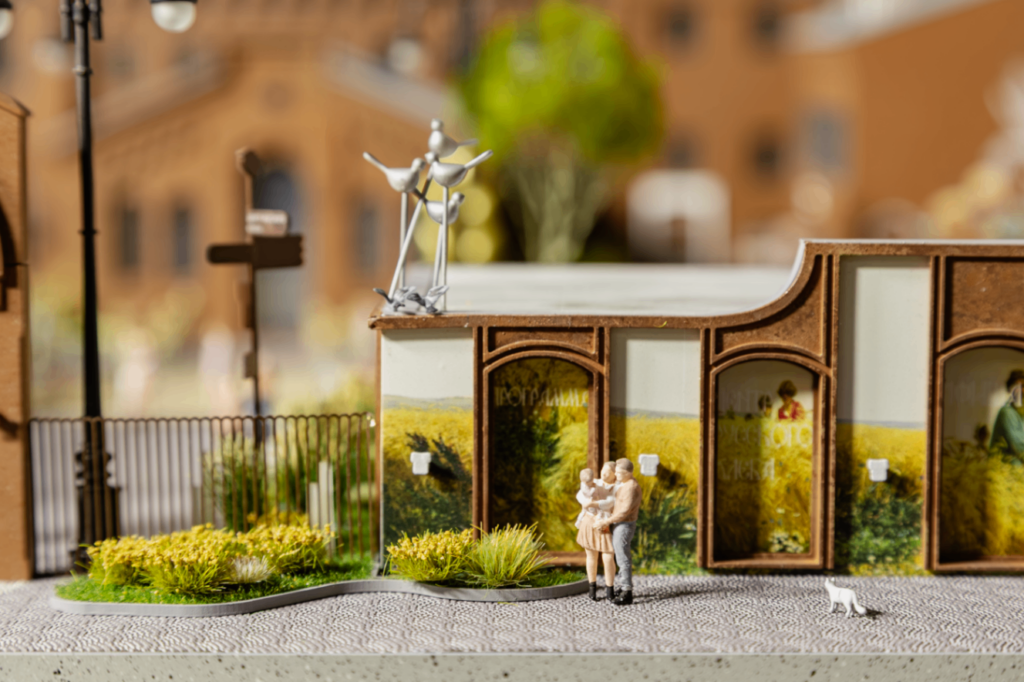
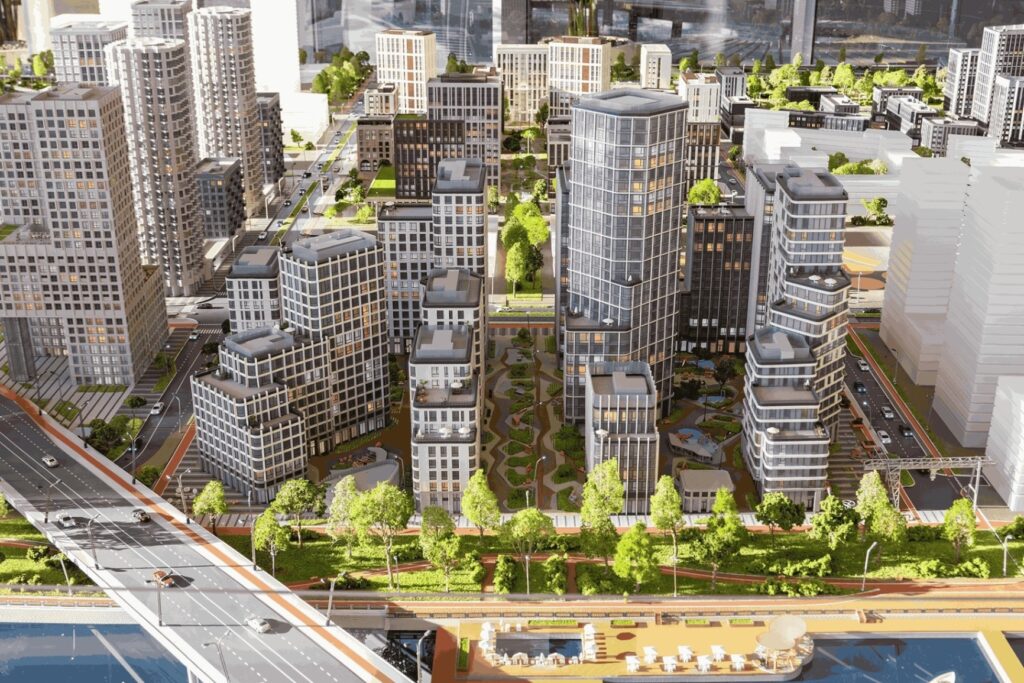
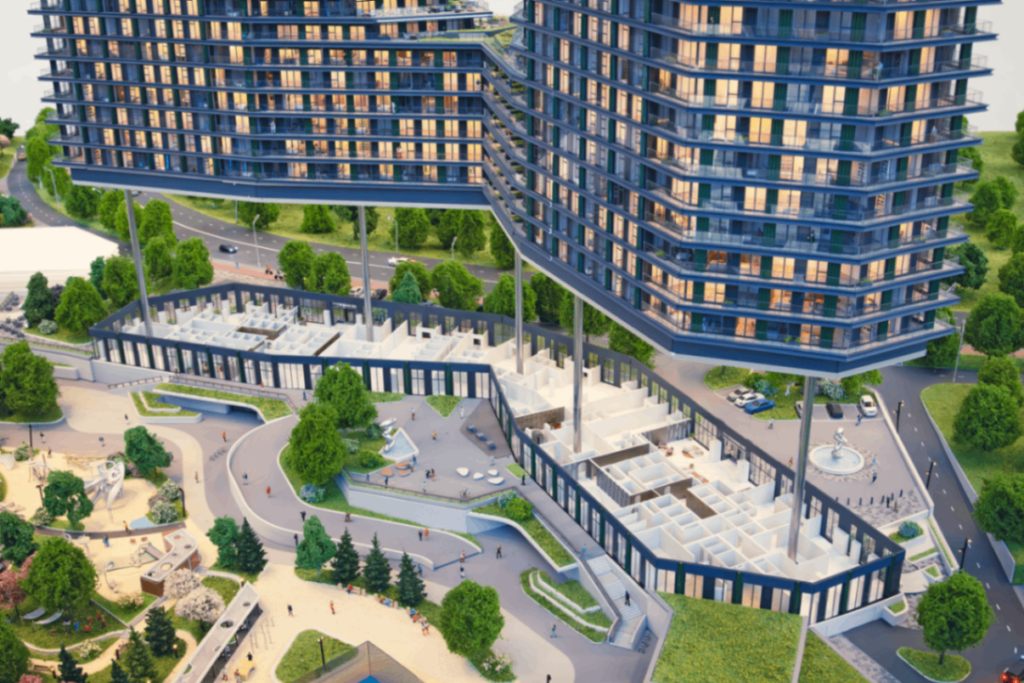
The next decision is scale. It is derived from two constraints: the site area and the dimensions of the installation space, including the doorway through which the model will have to be carried in. A territory is usually made at 1:500, a block at 1:200–1:250, individual buildings for a sales office at 1:150–1:175, and unit-by-unit selection calls for a larger 1:100–1:135. The level of detail is fixed together with the scale, and this is not an abstract «make it nicer» but a list of what will be physically modelled: interiors behind the windows, street furniture, vehicles and human figures, façade textures. Interiors are usually detailed selectively, in a portion of the apartments, and future construction phases are shown as frosted-glass volumes — a device that honestly separates the built from the planned.
The question of format is also settled here, and it must be settled before work begins. A presentation model with general lighting covers the task of «showing the project». An interactive model adds scenarios: the buyer sets parameters on a touchscreen display, and the matching apartments light up on the façade. The exhibition format requires durability and transportability. This choice cannot be revisited later: wiring channels and seats for electronics are laid in at the component design stage, and adding interactivity to a finished model without dismantling the buildings is not possible.
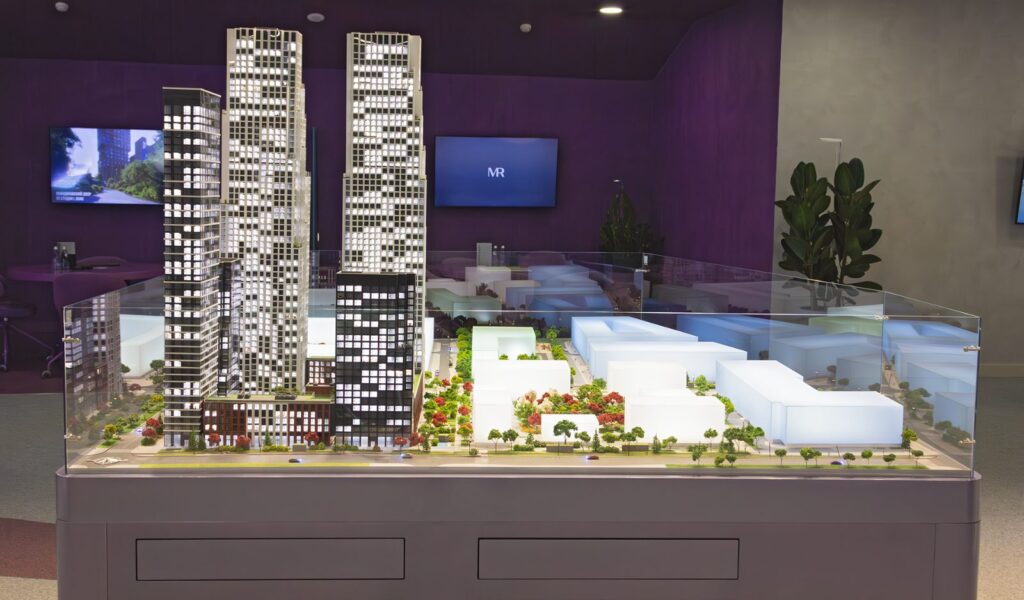
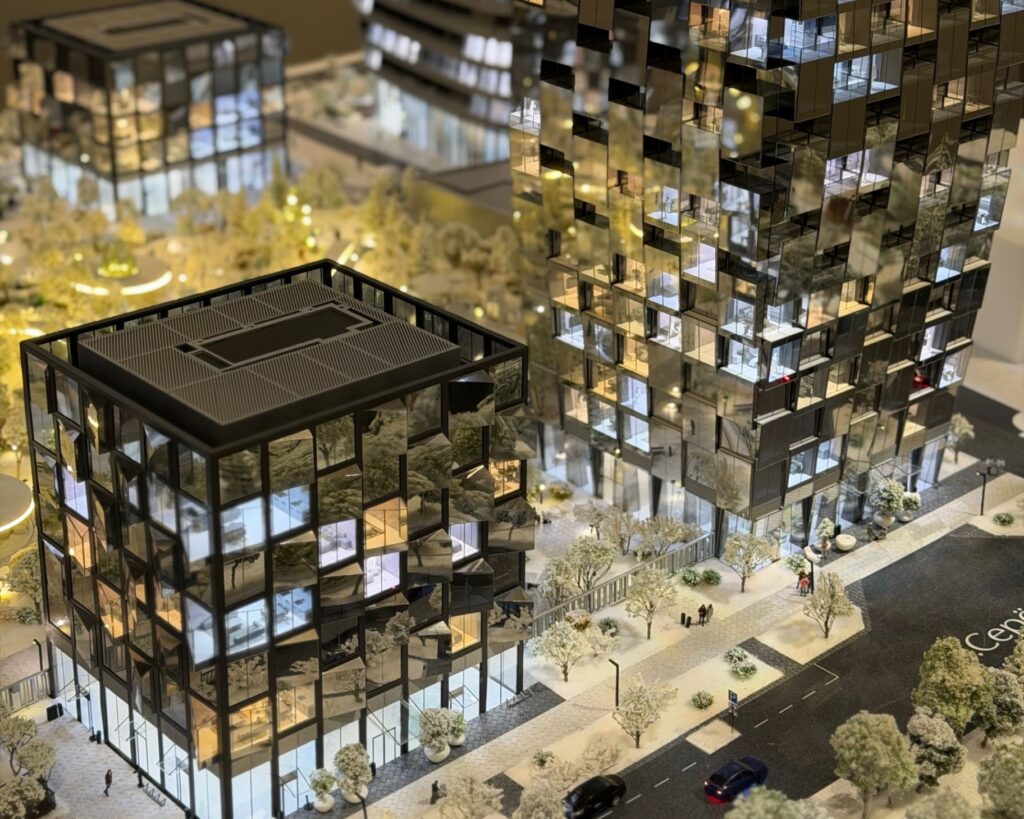
MR Group VEER model, 1:175: towers with interiors in a portion of the apartments and frosted-glass volumes for future phases — a device that separates the built from the planned
The price is assembled from the same parameters: area and scale, the number of buildings, the level of detail, the volume of electrical and mechanical work. Unit-by-unit lighting, touch control and kinetics increase the budget more noticeably than anything else — they require not materials but engineering hours for design, programming and debugging. Lead times for a project model are hard to compress with money: a simple model without electronics takes from 5 days, a block model with lighting and interactive features takes one to three months.
How a model moves through production: from digital model to handover
The production cycle is divided into six stages, and each ends with a result that is shown to the client. The first is the development of the digital model. Work begins with an analysis of the documentation and a definition of the task: where the model will stand, who needs to see what on it, which presentation scenarios are required. From this comes the concept — the composition of the model, the boundaries of the territory, the set of effects. Then an architect and a 3D modeller build the geometry of the buildings, the terrain, the road network, the landscaping. This model differs from the one used for project visualisation: a render allows conventions that will not survive translation into material — elements that are too thin, impossible junctions, decorative geometry without thickness. At the same time the scale, podium dimensions and materials are fixed: clear plastics for glazing, composites for load-bearing bases, metal for structures that must not sag.
The second stage is component design. The model is broken down into façade panels, floor slabs, roofs, road surfaces and street furniture, and each component receives tolerances suited to its manufacturing method. In parallel, the internals are designed: LED seats, wiring channels, mechanism mounts, service access. If moving vehicles or motorised figures are planned, the mechanics are developed together with the buildings — otherwise there is nowhere to put a moving element. The stage ends with the layout of production files and an assembly check of the structure.
The third stage is production in the workshop, where several technologies run in parallel. Laser cutting yields thin flat parts: façade articulation, railings, window frames. CNC milling handles volumetric and load-bearing elements and forms terrain and bases. 3D printing covers complex geometry — domes, sculptural forms, repeating elements that are cheaper to print in batches. Painting proceeds at the same time: colour is matched to the project’s façade solutions, because shade and texture determine whether the model will look convincing under the working lighting of the room.
The fourth stage is assembly. It proceeds from the base: podium, terrain, road network, then the buildings; the electrics are laid at the same time, because the wires go inside the structure. Realism is assembled from small things — trees, human figures, vehicles, street lamps; moving figures are scripted, and the master plan is sometimes made in two interchangeable versions, «winter» and «summer». Interiors are detailed selectively — enough for life to appear behind the glass rather than an empty volume.
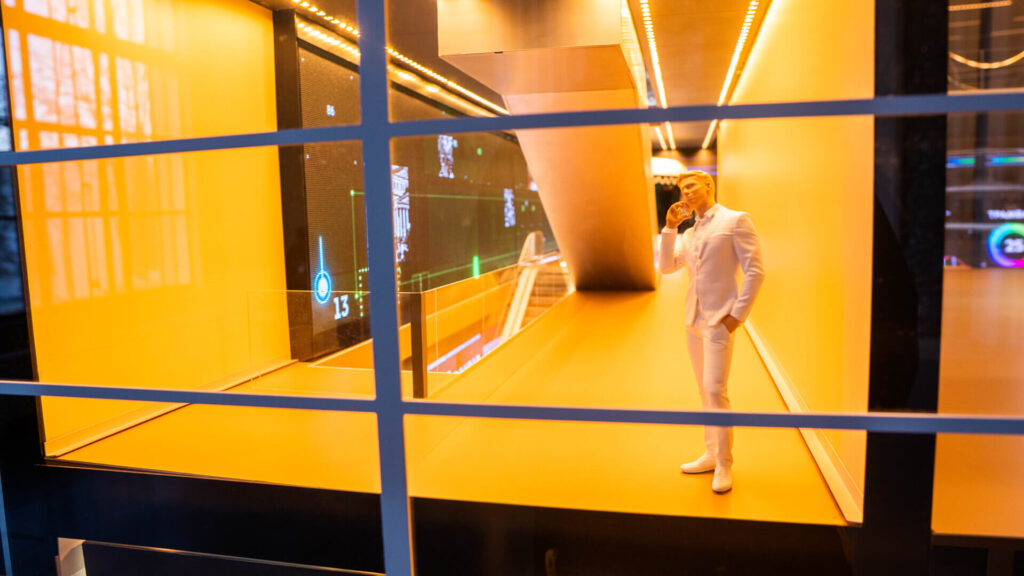
The fifth stage is light and multimedia, that is, what the model is switched on for. Lighting is routed by channel: façade, interior, street, unit-by-unit. Unit-by-unit addressing means that every apartment is controlled separately, and this is the most labour-intensive part of the electrical work — in a block model the count runs into hundreds of channels. Multimedia is installed in parallel: tablets, touchscreen displays, screens built into the structure. The lighting is synchronised with an interactive apartment finder, and the unit selected in the interface lights up on the façade. Interactivity here is not buttons but scenarios: construction phasing, zoning, day-to-night transition, available apartments. The mechanics follow the same logic — a lifting mechanism opens up the lobby or reveals the underground level and parking, exactly what in a render remains a technical section.
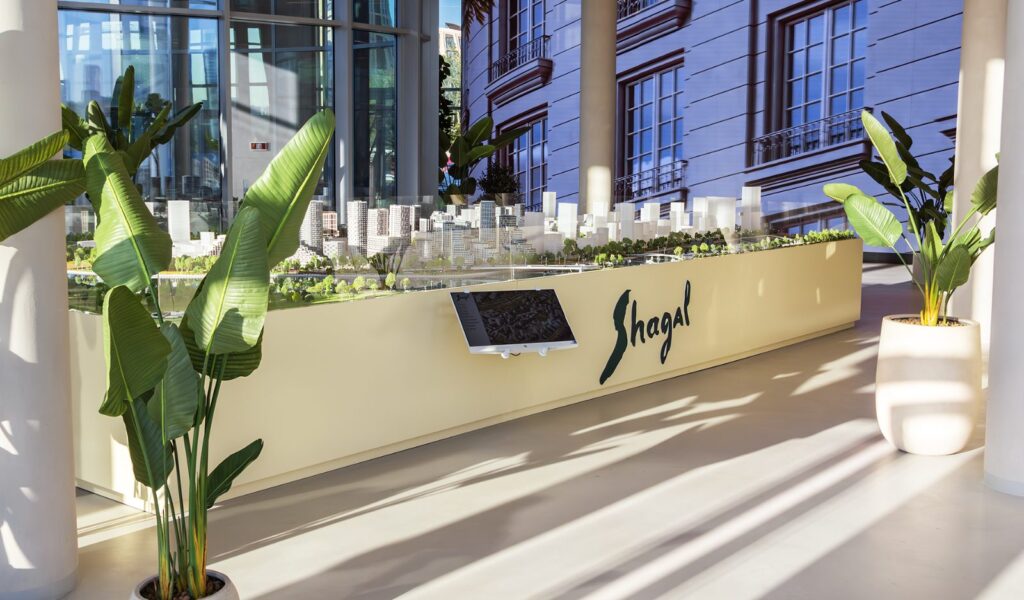
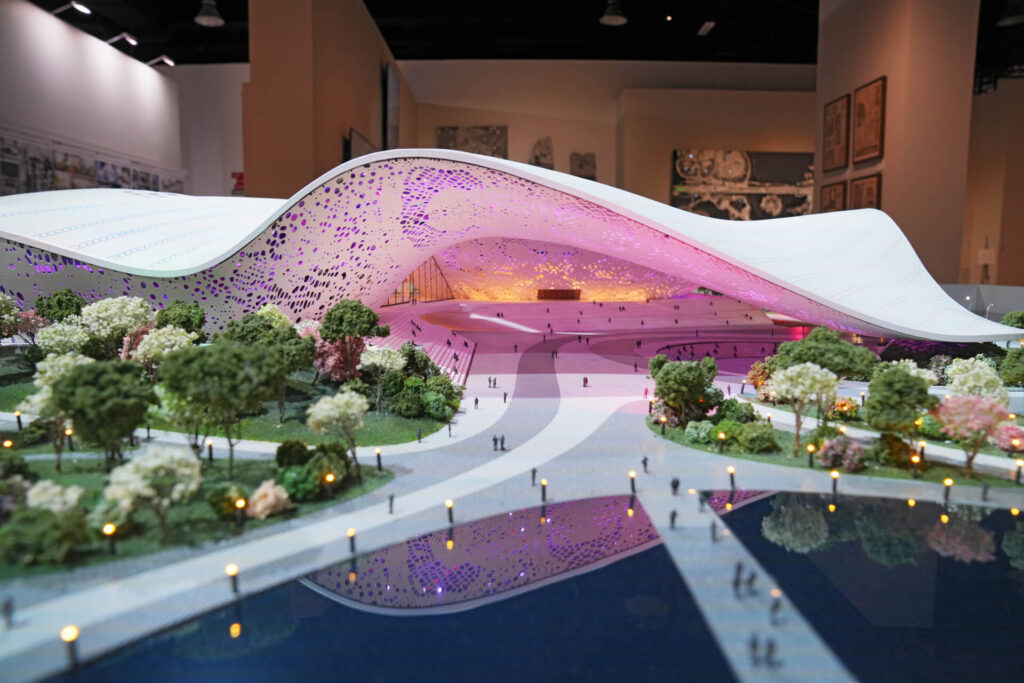
Unit-by-unit lighting on the Shagal residential complex model, 1:250, 7,200 × 3,920 mm: every apartment is a separate channel
The sixth stage is final testing. Before shipping, the model is run in conditions close to real operation: hours-long lighting cycles, repeated mechanism runs, interface response checks. This is where overheating, desynchronisation between light and application, and wear in moving parts are caught. The model is then packed for transport, installed on site and handed over with staff training: who switches it on, what to do in case of a fault, whom to contact. Businessmaket provides a 3-year warranty on its models, and the service schedule is agreed at this same stage — the question of who repairs the lighting a year from now is better closed before the contract is signed, not after.
How to commission an architectural model and what to look for in the contract
A conversation with a contractor should start not with dimensions but with the task: where the model will stand, who the audience is, what needs to be proved to that audience. From the answers follow the scale, the scope of work and a technical specification listing buildings, effects and scenarios; once the estimate is agreed, the project goes into development. The key thing for the client to agree in advance is the checkpoints: approval of the digital model, acceptance of the paintwork, a demonstration of the lighting scenarios before final assembly. If there is only one approval, at handover, any change becomes a rework of the assembled structure and costs as much as new production, whereas a comment at the digital-model stage is closed in a few hours of a modeller’s work.
The second item that determines the final invoice is the boundary between the estimate and additional work. Podium, display case, flight cases, delivery, installation, staff training, programming of additional scenarios: each item is either included in the price or charged separately. The third item is warranty and support: the term, the list of covered cases, the cost of a technician’s call-out. A model lives in a sales office for years, longer than an advertising campaign, and servicing over that period will certainly be needed.
Conclusion
Creating an architectural model is a manageable process with clear checkpoints, where timelines and budget are determined not by the complexity of the architecture but by the volume of electrical work, mechanics and debugging. The earlier the client formulates the presentation scenario, the more accurate the estimate and the fewer revisions fall on the stage where they cost the most.